Animated Website Background
James Kitchens
August 3, 2020
JavaScript
HTML
CSS
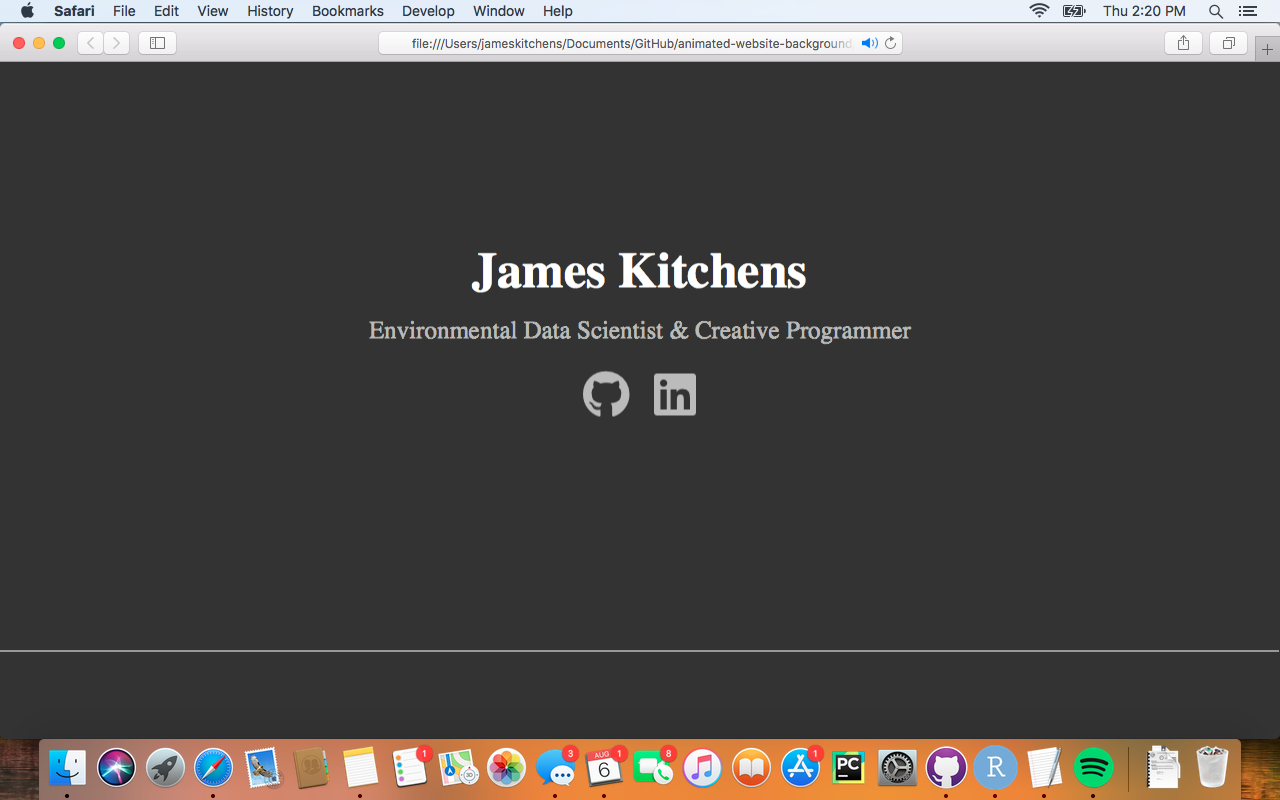
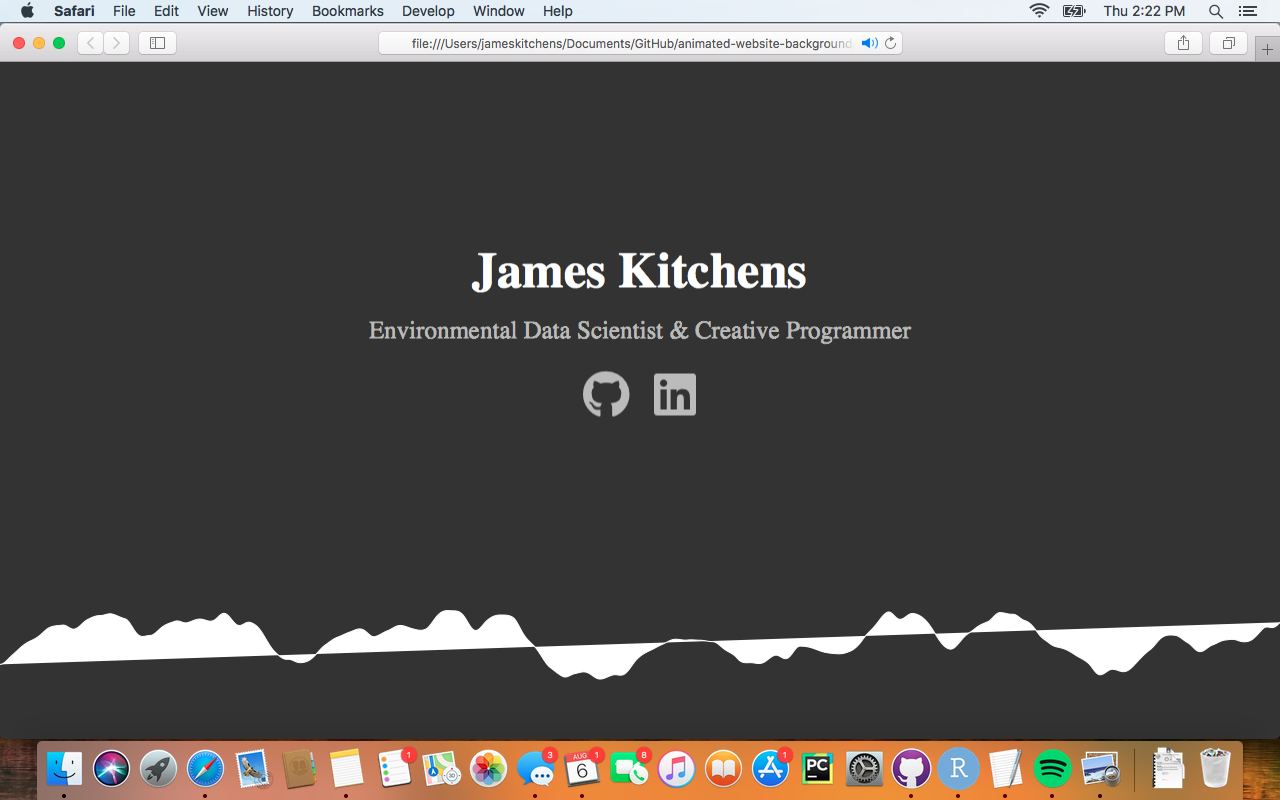
This tutorial walks you through how to use the p5.js JavaScript library to create an animated website background similar to that seen in the GIF above. For those of you who have not heard of p5.js, it is an open source JavaScript library targeted towards “artists, designers, educators, and beginners”. There are a number of great tutorials on YouTube created by Daniel Shiffman of The Coding Train where he walks you through different visual algorithms and creative uses for the library. I recommend that you check out his channel, as well as the official p5.js website, for more information about the library.
To start off with, you will need to create a new directory which will contain two files:
- index.html: containing your webpage structure and content
- perlinMountains.js: containing your p5.js (JavaScript) sketch
Both files can have different names if you would like, as long as you are consistent when referencing these files throughout the code.
index.html
<!DOCTYPE html>
<html lang="en">

<head>
  <meta charset="UTF-8">
  <meta http-equiv="X-UA-Compatible" content="IE=edge">
  <meta name="viewport" content="width=device-width, initial-scale=1">
  <script language="javascript" type="text/javascript" src="https://cdn.jsdelivr.net/npm/p5@1.0.0/lib/p5.min.js"></script>
  <script src="https://kit.fontawesome.com/b53b88607b.js" crossorigin="anonymous"></script>
  <script language="javascript" type="text/javascript" src="perlinMountains.js"></script>
  <style>
  </style>
</head>

<body>
</body>

</html>
First, you need to import the JavaScript that we will be using. This code accesses the p5.js library through a CDN so that you do not need it downloaded locally to run. If you plan to display any icons, such as the GitHub and LinkedIn icons used in the example, then you will need to import the Font Awesome library. Lastly, include a reference to your p5.js sketch file; because perlinMountains.js is found in the same directory, you can use just the name of the file as the relative path.
index.html
<body>
  <div id="home" class="home">
    <div id="background"></div>
    <div class="textbox">
      <h1 class="title">James Kitchens</h1>
      <p class="desc">Environmental Data Scientist & Creative Programmer</p>
      <div class="links">
        <a target="_blank" href="https://github.com/kitchensjn">
          <i class="fab fa-github link" title="GitHub"></i>
        </a>
        <a target="_blank" href="https://www.linkedin.com/in/james-kitchens-668825b2/">
          <i class="fab fa-linkedin link" title="LinkedIn"></i>
        </a>
      </div>
    </div>
  </div>
</body>
The structure of the body elements is relatively straight forward. The page will have a background div and textbox div, with the textbox containing content such as the website title, description, and any links. As I am creating this for my personal website, these will be my name, job title and interests, and links to my profiles on other sites. A whole tutorial could be dedicated to the extensive library of Font Awesome icons and the decision making process for how to use them most effectively, but I will leave that for another post. Let’s add some basic css styling to these elements to help them fill out the page; this can be done either as a separate .css file or within head of index.html.
index.html
<style>
  * {
      margin:0;
      padding:0;
  }
  html, body {
      width: 100%;
      height: 100%;
      position: relative;
  }
  p {
      margin-bottom: 10px;
      font-size: 20px;
  }
  #background {
      position: absolute;
      bottom: 0px;
      width: 100%;
      height: 50%;
      min-height: 300px;
      overflow: hidden;
  }
  .home {
      position: relative;
      width: 100%;
      height: 100%;
      min-height: 600px;
      background-color: #333333;
  }
  .textbox {
      position: absolute;
      left:50%;
      top:40%;
      transform: translate(-50%, -50%);
      color: #FFFFFF;
      text-align: center;
  }
  .title {
      font-size: 50px;
      font-weight: bold;
      margin-bottom: 15px;
  }
  .desc {
      color: #BBBBBB;
      margin-bottom: 25px;
      font-size: 25px;
  }
  .links a {
      padding: 0px 10px;
      font-size: 3em;
      text-decoration: none;
  }
  .link {
      color: #BBBBBB;
  }
  .link:hover {
      color: #FFFFFF;
  }
</style>
From the styling, we can see that the background div will cover the bottom 50% of the screen, stretch all the way from right to left, with a minimum height of 300px. Knowing the dimensions of the div that will contain our sketch is important when planning out the animation/design. You could have the div cover the entire screen and make a full background, but this will come at a performance cost to your website and may lead to animation stuttering.
perlinMountains.js
function setup() {
  var canvasDiv = document.getElementById('background');
  var myCanvas = createCanvas(canvasDiv.offsetWidth, canvasDiv.offsetHeight);
  myCanvas.parent("background");
  frameRate(60);
}

function draw() {
  background(51);
}
Within your sketch, you have two main functions: setup() and draw(). The setup() function is run only once at the start of the code. The draw() function is run with every frame. Objects are drawn to a canvas object (myCanvas), which needs a width and height parameter for creation. These parameters can be any positive integer; as we want the canvas to completely fill our div, we will use the div’s width and height when creating the canvas. We can then parent our canvas to the background div element, which means that our sketch will now be drawn within this div. Lastly, with frameRate(60); we are telling the sketch that it should try to run at 60 frames per second. Inside the draw function, I’ve set the background color of the canvas to be a dark gray rgba(51, 51, 51, 255).
perlinMountains.js
function draw() {
  background(51);

  stroke(255);
  beginShape();
  for (var x = 0; x <= width; x++) {
    vertex(x, 250);
  }
  endShape();
}
Each set of hills is actually a single shape, or polygon, drawn onto the canvas. Using the stroke() functions, we can set the color of our line. In p5.js, a shape is drawn by stating its vertices in order (either clockwise or counterclockwise). The top left corner of the canvas has coordinates (0, 0) and the bottom right corner has coordinates (width, height). Then we are going to loop through values of x from 0 to the width of the canvas, and draw our line at a height of 250.
You can see that this creates a straight line across our canvas; in order to get hills, we need to vary the height of our line. You could go in and manually set the height value of each vertex, but this would be very time consuming. The name of this file is perlinMountains.js because we can use the Perlin noise algorithm to generate noise that can give the appearance of mountains when applied to the height of a line. This is much better than using a random number generator for the height because Perlin noise smoothly transitions from high to low elevations and back again, whereas a random number generator has no such transition. Below is a comparison between 2D random noise versus 2D Perlin noise.
Let’s modify the current draw() function to implement the Perlin noise algorithm.
perlinMountains.js
function draw() {
  background(51);

  stroke(255);
  beginShape();
  for (var x = 0; x <= width; x++) {
    var nx = map(x, 0, 1000, 0, 10);
    var y = (height/2 * noise(nx)) + height*1/2;
    vertex(x, y);
  }
  endShape();
}
The map() function rescales the x value to a new range; I found scaling down by a factor of 100 to create nice mountains. This line can be modified to change the smoothness of your mountains. The noise() takes in a float number and returns a decimal between 0 and 1. As the seed for the noise() function does not change with each draw loop, the function will always return the same value for a given input. This will be very useful to know later on when we are implementing the animation. We then transformed this value so as to have it in oscillate about the center of the canvas with a maximum amplitude of half the canvas height to prevent it from going outside the canvas window.
perlinMountains.js
function draw() {
  background(51);

  stroke(255);
  beginShape();
  for (var x = 0; x <= width; x++) {
	  var nx = map(x, 0, 1000, frameCount/100, 10+frameCount/100);
	  var y = (height/2 * noise(nx)) + height*1/2;
	  vertex(x, y);
  }
  endShape();
}
To simulate the mountains sliding to the left, we can simply increment our x values over time. frameCount refers to the number of frames since the start of the script. With this addition to the code, at Frame 0, x=0 may correspond to nx=0, but at Frame 1, x=0 will correspond to nx=1/100, and so on until you end the sketch. At the same time, x=1 would have corresponded to nx=1/100 at Frame 0 and nx>1/100 at Frame 1. This gives the appearance that the mountains are sliding to the left over time. I decided to divide frameCount by 100 to slow down this progression.
perlinMountains.js
function draw() {
  background(51);

  fill(255,255,255,255);
  stroke(255);
  beginShape();
  vertex(0, height);
  for (var x = 0; x <= width; x++) {
    var nx = map(x, 0, 1000, frameCount/100, 10+frameCount/100);
    var y = (height/2 * noise(nx)) + height*1/2;
    vertex(x, y);
  }
  vertex(width, height);
  endShape();
}
Lastly, because we want the color of the mountains to be filled in underneath them, we need to include coordinates along the bottom edge of the canvas. Let’s set our first point to be the bottom left corner of the canvas (0, height) and our final point to be the bottom right corner of the canvas (width, height). With that, we now have a single set of mountains moving across the bottom half of our website.
But there is still major bug in our sketch - what happens when we change the size of our browser window? Currently, the canvas size is set within the setup() function, but this is only run right at the start of the sketch. If you are to change the browser window, the canvas remains the original size, leading to some unintended, ugly formatting.
perlinMountains.js
function windowResized() {
  var canvasDiv = document.getElementById('background');
  resizeCanvas(canvasDiv.offsetWidth, canvasDiv.offsetHeight);
}
The p5.js library provides a built-in windowResized() function which “listens” for a change in the size of the browser window. Using this function, you can resize the canvas to fit within the new background div size. Optionally, you may want to include a reference to the windowResized() function within the draw() function as not all events that may change the browser window size trigger the windowResized() function on its own, such as plugging in an external USB mouse while using Safari on a Mac.
To add more sets of mountains or shadows behind the mountain ranges, you can replicate the code from the fill() function to endShape() and change these values to alter the color, opacity, height, and sliding speed. I recommend slowing down the sliding speeds of the mountains in the background to create a parallax effect that mimics natural perspective changes. This tutorial just scratches the surface on how you can integrate the p5.js library into websites, so I would love to see what you come up with.
All of the code used in this post can be found HERE If you enjoyed this tutorial and want to use this code in your own project, give the repository a star on GitHub and fork the project to your own profile. If you have any questions, create an Issue for the GitHub repository and I will do my best to help!